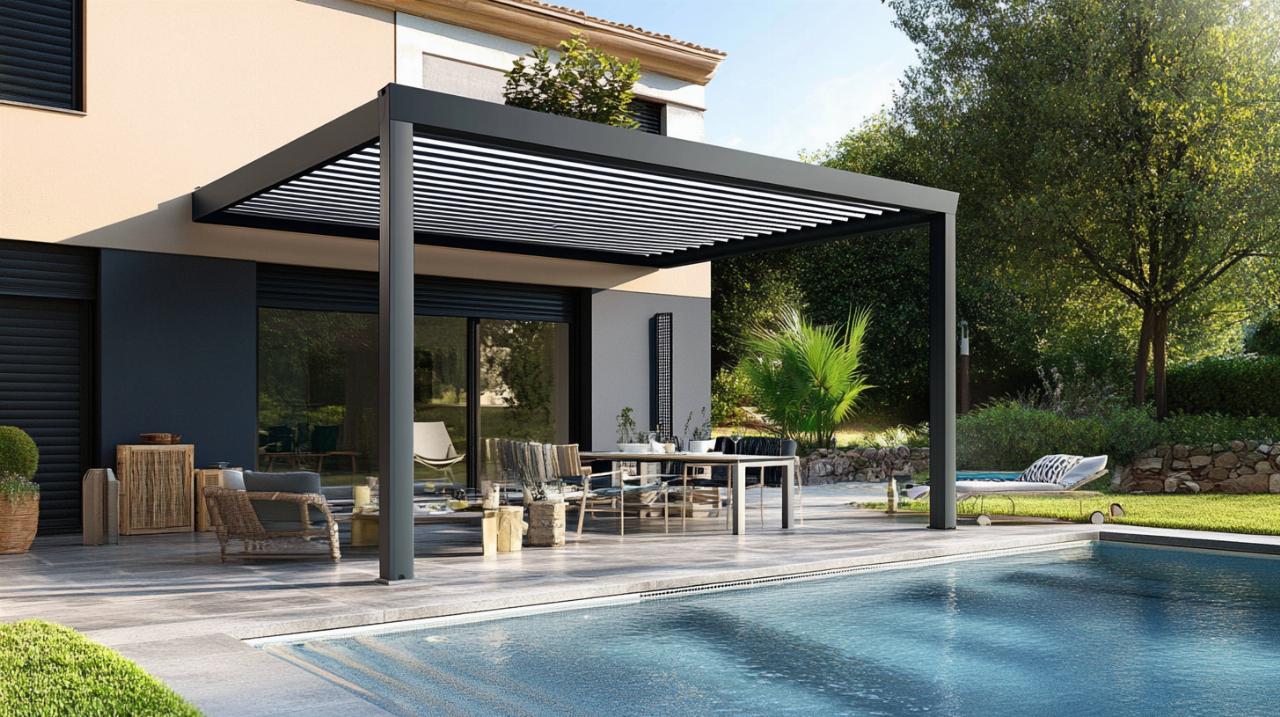
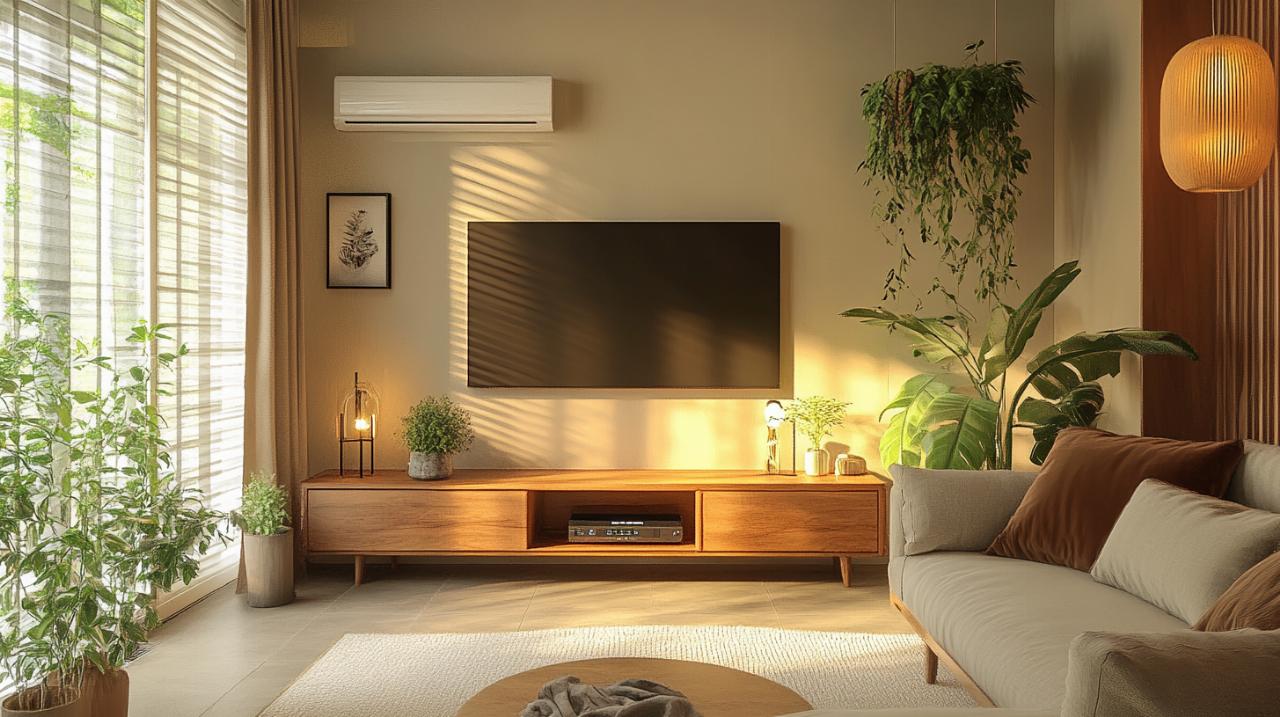
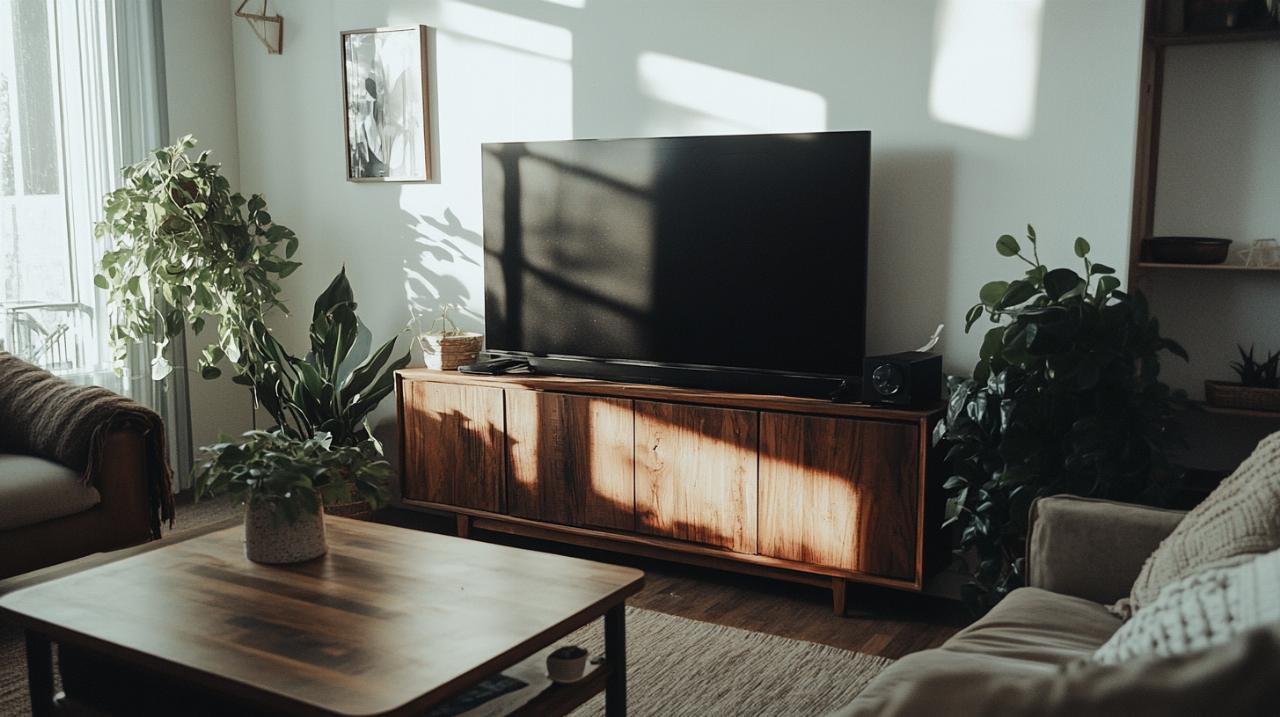
Creating a bespoke television unit from plasterboard represents an excellent opportunity to optimise available wall space whilst achieving a contemporary aesthetic within your home. This approach allows homeowners to craft a suspended design that integrates seamlessly with existing décor, whether within living rooms or bathrooms, and offers remarkable scope for customisation. However, the success of such a project hinges critically upon precision in measurement and cutting, alongside thoughtful planning throughout every stage of construction.
Essential Planning and Preparation for Your Plasterboard TV Unit
Embarking on the construction of a television unit demands meticulous planning well before any materials are cut or assembled. The initial phase involves thoroughly assessing the wall where the unit will be installed, taking into account the dimensions of your television and any additional furniture elements you wish to incorporate. This early evaluation ensures that the design will not only fit the intended space but will also complement the room's overall layout and function. By carefully considering these factors from the outset, you can avoid the pitfalls of ill-fitting panels or awkward structural elements that result from hasty decisions.
Once you have established a clear vision for your project, the next step involves detailed sketching and calculating the precise dimensions required for each component. Accurate measurements serve as the foundation for a successful build, reducing waste and preventing costly errors during the cutting process. It is advisable to measure the wall multiple times and cross-reference your figures to ensure consistency. This diligence pays dividends later, as even minor discrepancies can lead to misaligned joints or gaps that compromise both the appearance and structural integrity of your finished unit.
Gathering the Right Tools and Materials for Accurate Construction
The quality and suitability of your tools and materials directly influence the outcome of your plasterboard television unit. Essential equipment includes a sharp utility knife for scoring and cutting plasterboard, a reliable spirit level to guarantee horizontal and vertical alignment, and a tape measure with clear markings for consistent accuracy. Additionally, you will require a T-square or straight edge to guide your cuts, a drill with appropriate bits for securing connectors, and a saw designed specifically for metallic structures if you plan to incorporate a framework. Pliers may prove invaluable for precision assembly tasks, particularly when crimping connections or making fine adjustments to metallic components.
Selecting the correct grade of plasterboard is equally important. Standard plasterboard suffices for most interior applications, but moisture-resistant variants should be chosen for spaces such as bathrooms where humidity levels fluctuate. The choice of connectors, such as Kinook systems, contributes significantly to the durability and ease of assembly. These innovative connectors facilitate the construction of panels and uprights, enabling a modular approach that simplifies adjustments during installation. By investing in quality materials and tools from the beginning, you mitigate the risk of structural failure and ensure a professional result that stands the test of time.
Mastering precise measurements before cutting your plasterboard
Accurate measurement represents the cornerstone of any successful plasterboard project. Before making a single cut, it is imperative to verify all dimensions at least twice, ideally using different measuring tools to cross-check your figures. Mark your plasterboard clearly with a pencil, employing a T-square to maintain straight lines and right angles. When scoring the board, apply firm, consistent pressure with your utility knife, ensuring the blade penetrates deeply enough to create a clean break without tearing the paper surface. Mistakes during this stage often prove irreversible, resulting in wasted materials and the need to repeat measurements from scratch.
To further enhance precision, consider creating a full-scale template using cardboard or scrap material before cutting into your plasterboard. This method allows you to visualise the final dimensions and test the fit within the designated space, identifying potential issues before they become costly errors. Pay particular attention to the placement of any cut-outs required for cables, sockets, or ventilation, as these must align perfectly with existing infrastructure. By adopting a methodical approach and refusing to rush through the measurement phase, you lay the groundwork for a seamless assembly process and a finished unit that meets your exact specifications.
Building a Suspended TV Unit Using Kinook and Metallic Structures
A suspended design offers a sleek, modern appearance whilst maximising floor space and simplifying cleaning routines. Achieving this look requires robust structural support, typically provided by a combination of metallic frameworks and modular connector systems such as Kinook. These components work in tandem to distribute the weight of the television and any additional elements evenly across the wall, preventing sagging or detachment over time. The construction process begins with securing the metallic framework to the wall studs, ensuring that the support system is firmly anchored to withstand the load.
When installing the framework, use a spirit level to confirm that all horizontal and vertical members are perfectly aligned. Any deviation at this stage will be magnified once the plasterboard panels are attached, leading to visible gaps or uneven surfaces. The metallic structure should extend beyond the visible boundaries of the finished unit to provide adequate support along all edges and corners. Once the framework is in place, you can begin attaching the plasterboard panels, working methodically from one side to the other to maintain alignment and avoid cumulative errors.
Constructing Panels and Uprights with Kinook Connectors for Durability
Kinook connectors have gained popularity among DIY enthusiasts and professional builders alike due to their versatility and ease of use. These connectors facilitate the assembly of modular panels and uprights, allowing for rapid adjustments without the need for welding or complex joinery. To construct your television unit, begin by cutting the metallic profiles to the required lengths, ensuring that all cuts are square and free from burrs that could interfere with the connector fit. Insert the profiles into the Kinook connectors, tightening them securely with the appropriate tools to create rigid joints.
The modular nature of this system means that you can easily adapt your design to accommodate changing requirements or rectify minor measurement errors. For instance, if a panel proves slightly too long, you can simply loosen the connector, adjust the profile length, and retighten without dismantling the entire structure. This flexibility is particularly valuable when working with plasterboard, as the material itself is unforgiving of mistakes. By pairing the forgiving nature of Kinook systems with careful planning, you create a framework that is both durable and adaptable, providing a solid foundation for the subsequent stages of construction.
Installing a Metallic Framework for a Modern Suspended Design
The metallic framework serves as the skeleton of your suspended television unit, and its installation must be executed with precision and care. Begin by marking the positions of the wall studs using a stud finder, as these will anchor the framework securely. Drill pilot holes at the marked locations and use heavy-duty screws or wall anchors rated for the combined weight of the unit and television. It is advisable to overestimate the load capacity to provide an additional margin of safety, particularly if you plan to incorporate shelves or storage compartments.
Once the primary framework is mounted, attach horizontal and vertical cross-members to create a grid that will support the plasterboard panels. Space these members at regular intervals, typically every 400 to 600 millimetres, to prevent flexing or bowing of the panels. Use a spirit level repeatedly throughout this process to confirm that all elements remain perfectly aligned. The suspended design relies entirely on the integrity of this framework, so take the time to double-check every connection and fastening before proceeding. A well-installed metallic structure not only enhances the durability of your unit but also simplifies the subsequent stages of plastering and finishing.
Finishing touches: plastering, painting, and professional assembly techniques
With the structural framework and plasterboard panels securely in place, attention turns to the finishing touches that will transform your construction into a polished, professional-looking television unit. This phase involves applying joint compound to conceal seams and screw heads, sanding the surface to achieve a smooth finish, and painting the unit in your chosen colour. Each of these steps demands patience and attention to detail, as any imperfections will be magnified once the unit is in use and the television is mounted.
Begin by applying a thin layer of joint compound along all seams, using a wide putty knife to feather the edges and create a seamless transition. Allow this initial coat to dry completely before sanding lightly with fine-grit sandpaper. Repeat the process with additional coats as necessary, building up the compound gradually rather than attempting to fill large gaps in a single application. This layered approach minimises the risk of cracking and ensures a durable, long-lasting finish. Once satisfied with the surface quality, wipe away any dust and apply a primer before painting, as this will enhance adhesion and provide a uniform base for the final colour.
Applying Plaster and Paint for a Polished, Professional Result
Plastering the joints and screw holes is a critical step in achieving a professional appearance. Use a high-quality joint compound and apply it in thin, even layers, allowing each coat to dry thoroughly before sanding. The goal is to create a surface that is indistinguishable from the surrounding plasterboard, with no visible ridges or depressions. Pay particular attention to corners and edges, where imperfections are most noticeable. A well-executed plastering job not only enhances the visual appeal of your television unit but also protects the underlying structure from moisture and wear.
After sanding the plastered surfaces to a smooth finish, apply a coat of primer to seal the plasterboard and prepare it for painting. Choose a paint that is compatible with your room's function and aesthetic, bearing in mind that higher-sheen finishes may highlight minor imperfections whilst matte paints offer a more forgiving appearance. Apply the paint in thin, even coats using a roller for larger areas and a brush for edges and corners. Allow each coat to dry completely before applying the next, and inspect the surface under good lighting to identify any areas that require additional attention. This methodical approach ensures a polished, professional result that elevates the overall quality of your television unit.
Crimping, Shimming, and Sanding for Precision Assembly
Precision assembly techniques such as crimping, shimming, and sanding play a vital role in ensuring that your television unit fits together perfectly and functions as intended. Crimping involves compressing metallic connectors or profiles to create secure, permanent joints that resist loosening over time. This technique is particularly useful when working with Kinook systems, as it enhances the rigidity of the framework and prevents movement that could lead to misalignment or structural failure. Use appropriate pliers or crimping tools to achieve consistent results, applying even pressure to avoid deforming the metal.
Shimming is employed to correct minor discrepancies in alignment or to fill small gaps between components. Thin strips of wood, plastic, or metal can be inserted at strategic points to level surfaces or provide additional support where needed. This technique is invaluable when working with plasterboard, as it allows you to compensate for irregularities in the wall or framework without undertaking extensive modifications. Finally, sanding smooths rough edges and removes any burrs or splinters that could interfere with assembly or mar the finished appearance. By incorporating these precision techniques into your workflow, you ensure that every element of your television unit fits together seamlessly, resulting in a durable, attractive addition to your home.