Transforming a room with a fresh coat of paint can be a rewarding endeavour, yet achieving a professional finish requires more than enthusiasm and a steady hand. The secret to flawless walls lies not only in technique but also in selecting the right roller and matching it with the appropriate paint type. Understanding how different roller materials and nap lengths interact with various paint compositions can make the difference between a patchy amateur result and a smooth, gallery-worthy surface. By mastering these fundamentals, anyone can elevate their decorating skills and enjoy the satisfaction of a job well done.
Understanding roller types and their compatible paint finishes
Selecting the correct roller is the foundation of any successful painting project. Rollers come in a variety of nap lengths, each designed to work harmoniously with specific surface textures and paint consistencies. The nap refers to the thickness of the fibres that cover the roller sleeve, and this measurement directly influences how much paint the roller can hold and distribute. Matching the nap length to both the surface and the paint ensures even coverage, minimises streaking, and reduces the need for multiple coats. A well-chosen roller not only saves time but also enhances the quality of the final result, delivering a finish that looks polished and professionally executed.
Short Nap Rollers: Perfect for Smooth Surfaces and Low-Viscosity Paints
Short nap rollers, typically measuring between six and twelve millimetres in pile height, are the ideal choice for smooth or lightly textured surfaces such as freshly plastered walls, primed plasterboard, or glossy woodwork. These rollers hold less paint compared to their longer counterparts, which makes them particularly suited to low-viscosity formulations that flow easily and spread thinly. Water-based emulsions with a satin or silk finish work exceptionally well with short nap rollers, as the fine fibres distribute the paint evenly without leaving behind noticeable texture or roller marks. When preparing to use a short nap roller, it is essential to ensure the surface is clean, dry, and free from imperfections, as any flaws will be accentuated by the thin application. Loading the roller correctly is also crucial; dipping it lightly into the tray and rolling off the excess on the ridged section prevents drips and ensures a consistent film thickness. This approach delivers a sleek, modern finish that is perfect for contemporary interiors and areas where a refined appearance is desired.
Medium and Long Nap Rollers: Ideal for Textured Walls and Thicker Formulations
Medium nap rollers, ranging from twelve to eighteen millimetres, and long nap rollers, which can exceed eighteen millimetres, are specifically designed to tackle textured surfaces and heavier paint formulations. These rollers are indispensable when working with rough plaster, textured wallpaper, or exterior masonry, where the increased pile depth allows the roller to reach into crevices and apply paint evenly across uneven terrain. Thicker paints, such as masonry emulsions or high-build coatings, pair beautifully with medium and long nap rollers because the generous fibre length can carry a substantial volume of paint without becoming overloaded. This characteristic reduces the frequency of reloading the roller, speeding up the application process while maintaining consistent coverage. When using these rollers, it is important to adopt a methodical approach, overlapping each stroke slightly to maintain what professionals call a wet edge. This technique prevents visible lines and ensures that the paint blends seamlessly from one section to the next. The result is a robust, even coat that stands up to scrutiny and weathers the test of time, making it the preferred choice for both interior feature walls and exterior facades.
Matching paint composition to your roller material
Beyond nap length, the material composition of the roller sleeve plays a pivotal role in determining compatibility with different paint types. Roller sleeves are typically constructed from synthetic fibres, natural fibres, or a blend of both, and each material interacts differently with water-based and oil-based paints. Understanding these interactions allows decorators to avoid common pitfalls such as shedding fibres, poor paint pick-up, or premature wear of the roller. By selecting a roller material that complements the chemical properties of the paint, it becomes possible to achieve superior coverage, reduce application effort, and extend the lifespan of the painting tools.
Water-based emulsions and synthetic roller sleeves
Water-based emulsions, which have become the standard for interior decorating due to their low odour and easy clean-up, are best paired with synthetic roller sleeves. Modern synthetic fibres, often made from polyester or nylon, are engineered to resist water absorption, ensuring that the roller retains its shape and performance throughout the painting process. These materials do not swell or distort when exposed to moisture, which means they maintain consistent contact with the wall and deliver a uniform application. Synthetic sleeves are also highly durable and can be thoroughly cleaned with warm water and mild detergent, making them a cost-effective choice for multiple projects. When using water-based emulsions, it is advisable to dampen the roller slightly with water before loading it with paint. This simple step helps the paint flow more freely through the fibres and prevents the initial strokes from appearing dry or patchy. The combination of synthetic fibres and water-based formulations results in a smooth, even finish that dries quickly and emits minimal fumes, creating a pleasant decorating experience that is safe for households with children and pets.
Oil-Based Paints and Natural Fibre Rollers: When to Choose Each
Oil-based paints, prized for their durability and rich, glossy finish, require a different approach when it comes to roller selection. Natural fibre rollers, crafted from materials such as lambswool or mohair, are the traditional choice for oil-based formulations. These fibres have a natural affinity for oil, allowing them to absorb and distribute the paint more effectively than synthetic alternatives. The soft, dense pile of natural fibre rollers ensures that oil-based paints are laid down in a smooth, even layer, reducing the appearance of brush marks or roller stipple. However, natural fibres do require more meticulous care; they must be cleaned with appropriate solvents such as white spirit and stored in a dry environment to prevent deterioration. For those who prefer the convenience of modern materials, high-quality synthetic blends are now available that can handle oil-based paints with impressive results. These hybrid rollers combine the oil-absorbing properties of natural fibres with the resilience and easy maintenance of synthetic materials. Regardless of the choice, it is essential to load the roller evenly and work methodically across the surface, maintaining a wet edge to ensure the paint does not begin to set before adjacent areas are blended. This careful attention to detail is what separates a professional-looking finish from a rushed, uneven job.
Professional application techniques for optimal paint distribution
Even the best roller and paint combination will fall short without proper application technique. Professional decorators rely on a series of proven methods to ensure that paint is distributed evenly, coverage is complete, and the final result is free from common defects such as streaks, drips, or missed spots. By adopting these techniques, even novice painters can achieve results that rival those of experienced tradespeople. The key lies in understanding how to control the roller, manage the paint load, and move systematically across the surface.
Loading Your Roller Correctly to Prevent Drips and Achieve Uniform Coverage
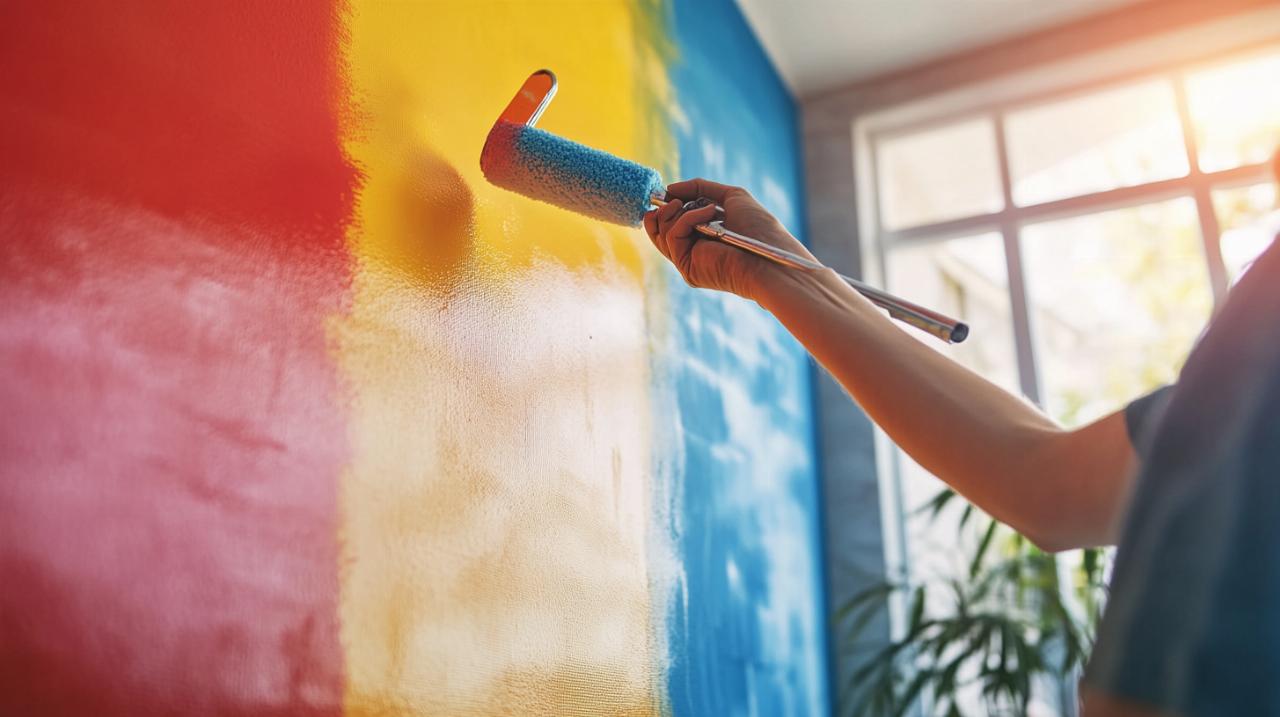
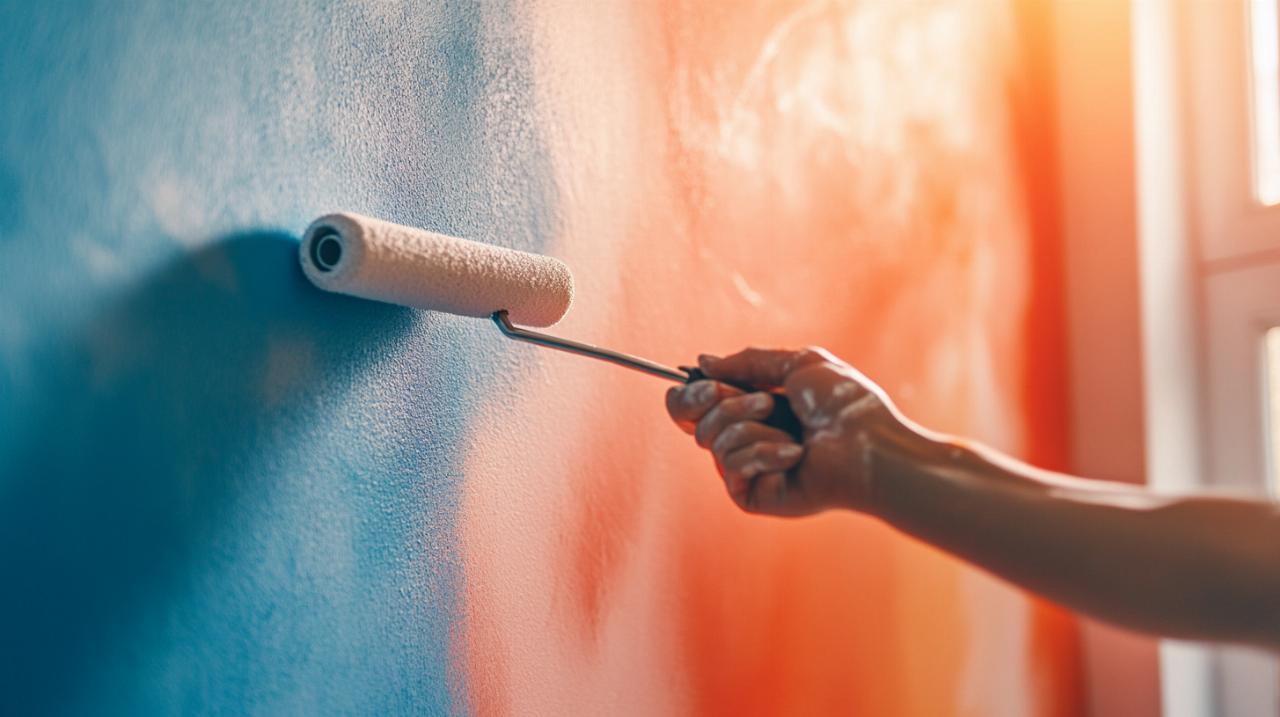
Correct roller loading is the cornerstone of a successful paint job. Begin by pouring an adequate amount of paint into a clean roller tray, filling the reservoir to a level that allows the roller to be dipped without submerging it entirely. Gently roll the sleeve into the paint, ensuring that the fibres are evenly saturated but not dripping. Next, roll the loaded sleeve back and forth across the ridged section of the tray, which serves to distribute the paint uniformly through the pile and remove any excess. This step is crucial because an overloaded roller will leave runs and splatters, while an under-loaded roller will result in thin, patchy coverage that requires additional coats. A properly loaded roller should feel substantial but not heavy, and it should glide smoothly across the wall without leaving behind drips or streaks. Taking the time to master this simple yet essential technique pays dividends in the form of a flawless finish and reduced material waste.
The w-pattern method: ensuring a streak-free professional finish
Once the roller is correctly loaded, the application method becomes paramount. The W-pattern, sometimes referred to as the M-pattern, is a time-honoured technique used by professionals to ensure even coverage and a seamless finish. To execute this method, start at the top corner of the wall and roll the paint in a series of diagonal strokes that form a large W or M shape. This initial pattern helps to distribute the paint across a broad area, preventing heavy concentrations in any one spot. After the W is complete, fill in the gaps by rolling horizontally or vertically, maintaining light, overlapping strokes that blend the paint together. The goal is to keep a wet edge at all times, which means working swiftly enough that each new stroke overlaps with wet paint rather than paint that has begun to dry. This approach eliminates the visible lines and streaks that often plague less experienced painters. As the roller begins to run low on paint, make a final pass over the section with light, even strokes to smooth out any remaining texture. By repeating this process methodically across the entire wall, it becomes possible to achieve a uniform, professional finish that enhances the beauty of any room. The satisfaction of stepping back to admire a perfectly painted surface is well worth the effort invested in learning and applying these techniques.