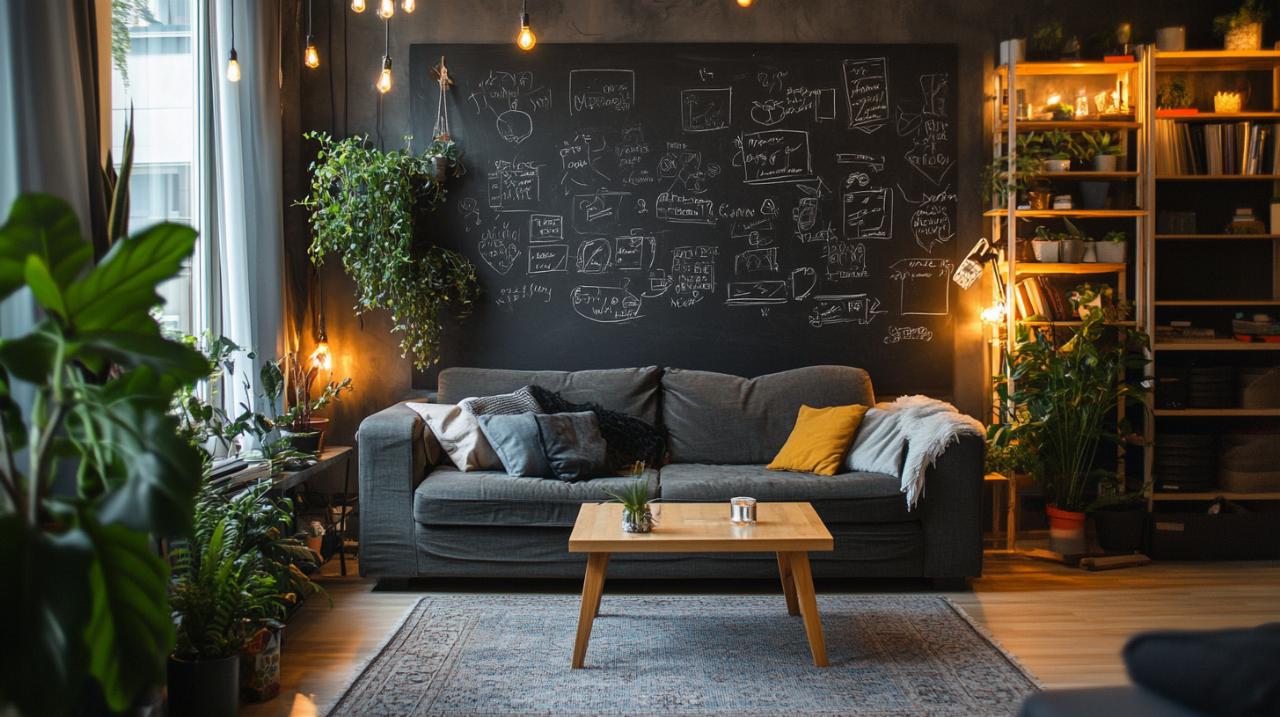
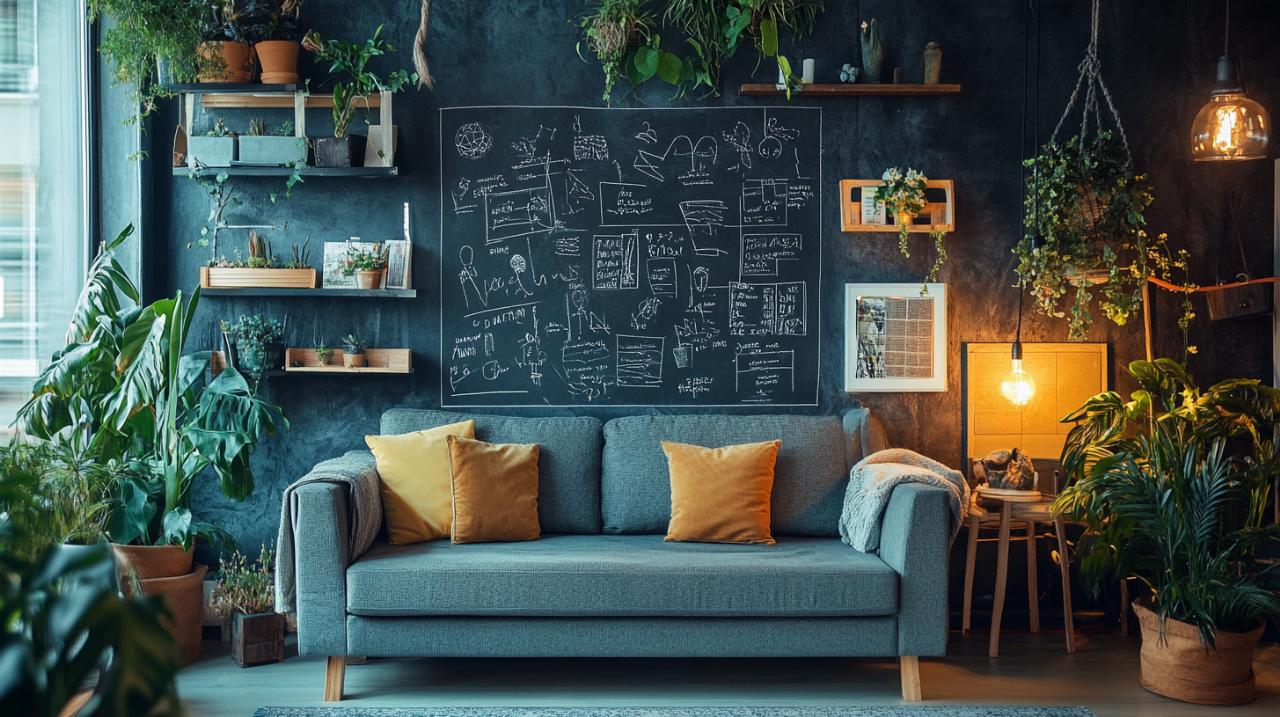
Transforming an ordinary wall into a functional chalkboard surface has become one of the most popular home improvement projects in recent years, offering both practicality and creative flair to any room. Whether you're looking to create a family message centre in your kitchen, a creative outlet for the little ones, or simply add a touch of personality to your living space, a chalkboard wall provides endless possibilities for organisation and artistic expression. The beauty of this project lies in its simplicity and affordability, making it accessible even to those who might not consider themselves particularly handy. With the right preparation, materials, and technique, you can achieve a professional-looking finish that will serve your household for years to come.
Essential Materials and Preparation for Your Chalkboard Wall Project
Gathering Your Kit: Everything You'll Need for a Proper Job
Before you even think about picking up a paintbrush, you'll want to make certain you've got all the necessary bits and bobs assembled in one place. At the heart of your project lies the blackboard paint itself, which comes in various formulations depending on your specific needs. Standard matt black emulsion works perfectly well for most applications, though specialist chalkboard paint from brands like Rustoleum offers superior durability and a proper finish. If you're keen on creating a magnetic chalkboard that can hold notes and photos with magnets, you'll need to invest in magnetic primer such as MagnaMagic paint, which does cost a bit more but adds tremendous functionality to your finished wall. For application, a good quality foam roller proves essential for achieving that smooth, professional surface, whilst a smaller paintbrush becomes necessary for cutting in around the edges and corners. Masking tape of decent quality will protect your ceiling, skirting boards, and any adjacent walls you don't want painted, whilst drop cloths or old sheets will safeguard your floor and furniture from inevitable drips and splashes. Don't forget sugar soap for the preparation stage, as this degreaser proves invaluable in getting your wall properly clean, and finally, keep some basic chalk on hand for the seasoning process once everything has dried.
Prepping Your Wall Surface: The Foundation for a Brilliant Finish
The secret to a truly impressive chalkboard wall lies not in the painting itself but in the preparation that precedes it, as any experienced decorator will tell you. Start by giving your chosen wall a thorough once-over with sugar soap, which cuts through grease, grime, and any residue that might prevent the paint from adhering properly. This step proves particularly crucial in kitchens where cooking residue accumulates over time, even if you can't see it with the naked eye. Once you've scrubbed the surface clean, allow it ample time to dry completely before proceeding, as moisture trapped beneath your paint will cause problems down the line. Examine the wall carefully for any imperfections such as cracks, holes, or uneven patches, filling these with appropriate filler and sanding smooth once dry. The positioning of your chalkboard wall matters more than you might initially think, so avoid placing it in narrow spaces where you'll struggle to stand back and admire your handiwork, and steer clear of areas near upholstered furniture that might collect chalk dust. Using masking tape, carefully mark out the precise area you intend to paint, taking your time to ensure straight lines and crisp corners. A clever trick involves painting over the inside edge of the masking tape with your existing wall colour first, which creates a seal and prevents the blackboard paint from seeping underneath and creating ragged edges.
The painting process: applying magnetic primer and blackboard paint
Creating a magnetic surface: layering your primer correctly
If you've decided to incorporate magnetic functionality into your chalkboard wall, the magnetic primer stage requires particular attention and patience to achieve the desired results. MagnaMagic paint and similar magnetic primers contain iron particles that create the magnetic field, but these need building up through multiple applications to generate sufficient strength for holding magnets reliably. Stir the magnetic primer thoroughly before use and continue stirring occasionally during application, as the iron particles tend to settle at the bottom of the tin rather quickly. Working with reasonable speed proves important because magnetic paint can begin to dry faster than standard emulsion, potentially leaving visible lap marks if you dawdle too much. Apply your first coat systematically using your foam roller, maintaining a wet edge as you go to avoid those telltale lines where one section has begun to dry before you've blended the next. Most manufacturers recommend applying at least five coats of magnetic primer for optimal magnetic strength, though some people find three coats sufficient depending on the strength of magnets they plan to use. The key lies in allowing each coat to dry completely before applying the next, typically waiting several hours between applications, and rare-earth magnets work considerably better than standard fridge magnets on these surfaces. Smooth each coat gently with a foam brush after rolling to eliminate any texture or roller marks, as these imperfections will telegraph through your final blackboard paint layer and spoil the finished appearance.
Achieving a Flawless Blackboard Finish: Application Techniques and Drying Times
Once your magnetic primer has fully cured, or if you've chosen to skip that step entirely, you can crack on with applying the blackboard paint that transforms your wall into a usable writing surface. Load your foam roller evenly with paint, removing excess by rolling it on the tray grid to prevent drips and ensure smooth coverage across the wall. Start from one corner and work methodically across the surface, using overlapping vertical or horizontal strokes to maintain consistency, whilst a smaller brush handles the fiddly bits around your masking tape edges. The first coat typically appears somewhat patchy and may not fully hide the underlying colour, which proves completely normal and nothing to worry about, as subsequent layers will build opacity and create that rich, deep finish you're after. Most blackboard paints require two to three coats for complete coverage, though some lighter wall colours beneath might necessitate an extra layer to achieve that proper blackboard appearance. Resist the temptation to apply the paint too thickly in an attempt to speed things along, as heavy application leads to drips, sags, and an uneven surface that won't perform well once you start using chalk on it. Between coats, allow the paint to dry according to the manufacturer's instructions, which generally means waiting at least four hours though overnight proves even better for ensuring complete drying. The room temperature and humidity affect drying times considerably, so factor in these variables when planning your project timeline, particularly during colder or damper months when things naturally take longer to cure properly.
Final steps and seasoning your new chalkboard wall
Removing masking tape and inspecting your handiwork
The moment when you peel away the masking tape ranks among the most satisfying parts of the entire project, revealing those crisp, clean edges that separate amateur work from professional-looking results. Timing proves crucial here, as you want to remove the tape when the final coat has dried enough not to smudge but hasn't yet cured so completely that the tape pulls away bits of paint with it. Gently score along the edge of the tape with a craft knife if you're worried about paint adhesion, then slowly pull the tape back on itself at a shallow angle rather than straight out from the wall. Any minor imperfections along the edges can be touched up with a small artist's brush and a steady hand, though proper preparation and sealing should minimise such issues. Step back and examine your work from different angles and in various lighting conditions, as this reveals any areas that might benefit from an additional touch-up coat or smoothing. If you've added a wood border using boards from your local timber merchant, now comes the time to measure, cut, and attach these decorative frames around your chalkboard area, which adds a lovely finished look and helps define the space. Wait a full day or preferably two before proceeding to the seasoning stage, even if the surface feels dry to the touch, because the paint continues curing beneath the surface and rushing this risks damaging your careful work.
Conditioning Your Chalkboard: Why Seasoning Matters and How to Do It Properly
Seasoning your newly painted chalkboard wall might sound like an odd cooking instruction, but this essential step prevents your first messages and drawings from leaving permanent ghost images that never fully erase. The process works by filling the microscopic pores in the paint surface with chalk dust before you begin using it properly, creating a barrier that prevents later chalk marks from penetrating too deeply into the material. Take a piece of ordinary chalk and lay it on its side, then rub it across the entire surface of your chalkboard wall in broad, overlapping strokes until you've covered every square inch with a thin layer of chalk dust. Work the chalk into the surface thoroughly, paying particular attention to the corners and edges where coverage sometimes proves less complete, and don't worry about being too precious during this process as you'll be wiping it all away shortly. Once you've completely covered the wall, take a clean, dry cloth or proper blackboard rubber and wipe away all the chalk residue, which should come away easily leaving a subtle dusty film across the surface. Your chalkboard wall now stands ready for action, whether that means jotting down shopping lists, creating seasonal decorations like Scandi-style snowflakes and flowers, leaving messages for family members, or letting the children express their creativity with drawings and doodles. For ongoing maintenance, furniture polish sprayed onto a duster works brilliantly for cleaning the surface between uses, though some enthusiasts swear by the unexpected trick of using full-sugar Coke for stubborn marks, followed by a wipe with a damp cloth. Regular cleaning keeps your chalkboard looking fresh and ensures chalk continues to write smoothly and erase cleanly, whilst changing your designs and messages with the seasons prevents the wall from becoming stale or ignored, maintaining its position as a cherished feature of your home rather than a neglected novelty that loses its appeal after the initial excitement fades.