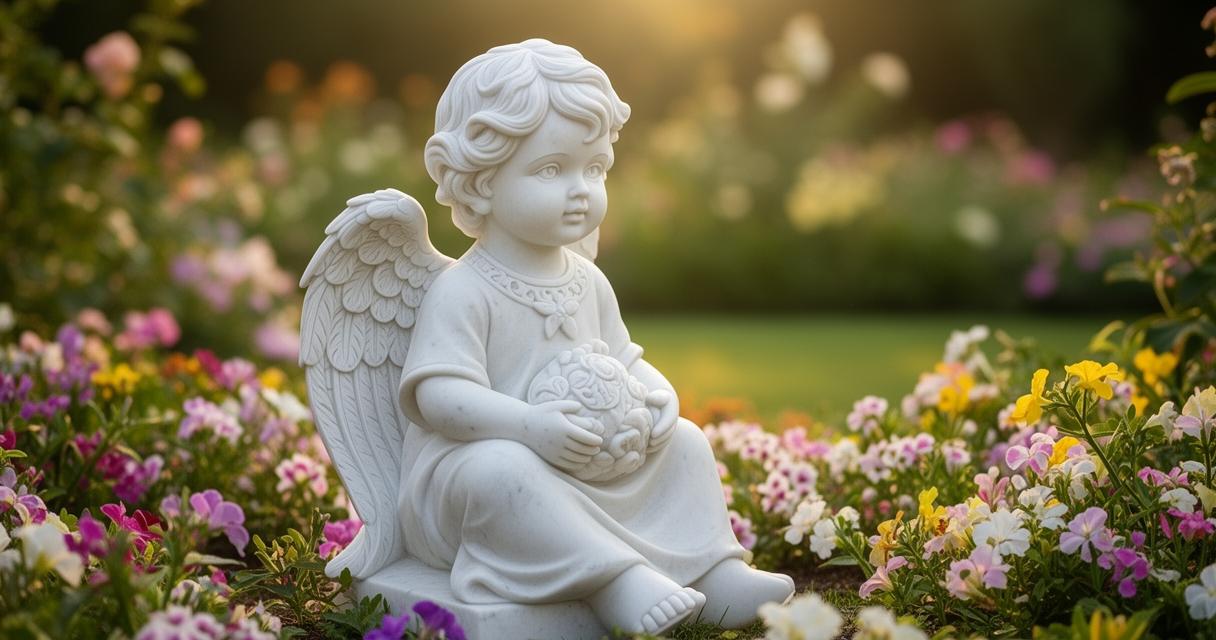
Creating your own charming angel statue offers a delightful opportunity to personalise your home or garden decor whilst crafting something truly special. Whether you wish to fashion a serene guardian for your outdoor space or a delicate ornament to brighten an interior room, the process of sculpting and painting your own figurine can be both rewarding and enjoyable. With the right approach, even beginners can achieve professional-looking results that rival shop-bought pieces. This guide will walk you through the essential tools, materials, and techniques needed to bring your vision to life, ensuring your finished creation is as enchanting as you imagined.
- Creating a custom angel statue allows for a rewarding crafting experience that can produce professional-quality results even for beginners.
- High-quality polyurethane or epoxy resin is essential for achieving a durable, detailed finish, while silicone moulds offer the flexibility needed for easy demoulding.
- Accurate measurement of resin and hardener, combined with thorough but gentle mixing, is critical to ensure proper curing and prevent unwanted air bubbles.
- Safety is a top priority, requiring a well-ventilated workspace, protective gear such as gloves and goggles, and careful handling of chemical materials.
- Post-casting finishing touches, including sanding with various grits and trimming excess material with a craft knife, are necessary to achieve a smooth and refined surface.
- Efficient workflow, including preparing the workspace in advance, helps manage resin setting times and reduces the risk of errors during the molding process.
Essential Tools and Materials for Crafting Your Angel Statue
Embarking on the journey of creating a beautiful angel statue begins with assembling the right tools and materials. The foundation of your project lies in selecting quality supplies that will not only make the crafting process smoother but also ensure the longevity and visual appeal of your finished piece. Understanding what you need before you start will save time and help you avoid common pitfalls that can detract from the final result.
Selecting the Right Resin and Moulds for Your Project
Resin is the cornerstone material for crafting durable and detailed angel statues. When choosing resin, opt for a high-quality polyurethane or epoxy variety that is specifically designed for casting decorative items. These resins offer excellent durability and a smooth finish, which is crucial for capturing intricate details such as delicate wings or serene facial expressions. The transparency and setting time of the resin can vary, so consider a slower-setting option if you are new to the craft, as this allows more time to work and correct any mistakes before the material hardens completely.
Moulds are equally important and should be selected based on the size and complexity of the design you envision. Silicone moulds are highly recommended due to their flexibility and ease of release, which minimises the risk of damaging your statue during the demoulding process. Look for moulds that feature fine detailing and smooth surfaces to ensure your angel statue has a professional appearance. Some moulds come in multiple parts, allowing you to create larger or more intricate designs, so consider your skill level and the space where the statue will be displayed when making your choice.
Must-Have Equipment for Sculpting and Finishing
Beyond resin and moulds, several other tools are indispensable for achieving a polished finish. A mixing container and stir sticks are necessary for properly blending the resin components, ensuring a uniform consistency that sets evenly. Measuring cups or a digital scale will help you achieve the correct resin-to-hardener ratio, which is critical for preventing issues such as incomplete curing or brittleness. Wearing gloves and safety goggles is essential to protect your skin and eyes from chemical exposure, as resin can be irritating and requires careful handling.
Once your angel statue has cured, you will need sandpaper of varying grits to smooth any rough edges or imperfections. Start with a coarser grit to remove larger blemishes and finish with a finer grit for a silky, smooth surface that is ready for painting. A craft knife or scalpel can be useful for trimming away any excess resin or flash that may have formed during the casting process. Additionally, a set of files or a rotary tool equipped with fine attachments can help refine delicate areas such as the wings or halo, ensuring every detail is crisp and well-defined.
Step-by-step guide to creating your angel figurine
With your materials and tools assembled, you are ready to begin the creative process. Crafting your own angel statue involves several key stages, each requiring patience and attention to detail. Following a methodical approach will help you avoid common mistakes and ensure that your figurine turns out exactly as you envisioned.
Preparing your workspace and safety considerations
Before you start working with resin, it is vital to set up a clean and well-ventilated workspace. Resin fumes can be strong and potentially harmful if inhaled in large quantities, so working outdoors or in a room with good airflow is highly advisable. Cover your work surface with plastic sheeting or newspapers to protect it from spills and drips, which can be difficult to remove once cured. Keep all your tools and materials within easy reach to streamline the process and reduce the risk of accidents.
Safety should always be your top priority. In addition to gloves and goggles, consider wearing a mask or respirator if you are sensitive to chemical odours. Keep a bowl of soapy water and some paper towels nearby for quick clean-up, and be mindful of the working time indicated on your resin packaging. Once the resin begins to set, it becomes difficult to manipulate, so having everything prepared in advance will allow you to work efficiently and with confidence.
Mixing, pouring, and setting your resin correctly
Begin by carefully measuring out the resin and hardener according to the manufacturer's instructions. Precision is crucial here, as incorrect ratios can lead to a sticky or overly brittle finish. Stir the mixture slowly and thoroughly for several minutes, scraping the sides and bottom of the container to ensure complete blending. Avoid vigorous stirring, as this can introduce air bubbles that will mar the surface of your statue. If bubbles do appear, gently tap the mixing container on your work surface or use a heat gun on a low setting to encourage them to rise and pop.
Once your resin is mixed, pour it slowly into the mould, allowing it to flow into all the intricate details. Tilt and rotate the mould gently to help the resin reach every corner and avoid trapping air pockets. If your design includes particularly deep or narrow sections, consider pouring in stages, allowing each layer to partially set before adding more resin. This technique can help prevent voids and ensure a solid, uniform structure throughout the statue.
After pouring, leave the mould undisturbed in a dust-free area to cure. The curing time can vary depending on the type of resin and ambient temperature, but most resins will be ready to demould within twenty-four to forty-eight hours. Resist the temptation to rush this stage, as premature demoulding can cause the statue to deform or break. Once fully cured, gently flex the mould to release your angel figurine, taking care not to force or bend delicate features.
Painting techniques for achieving professional results
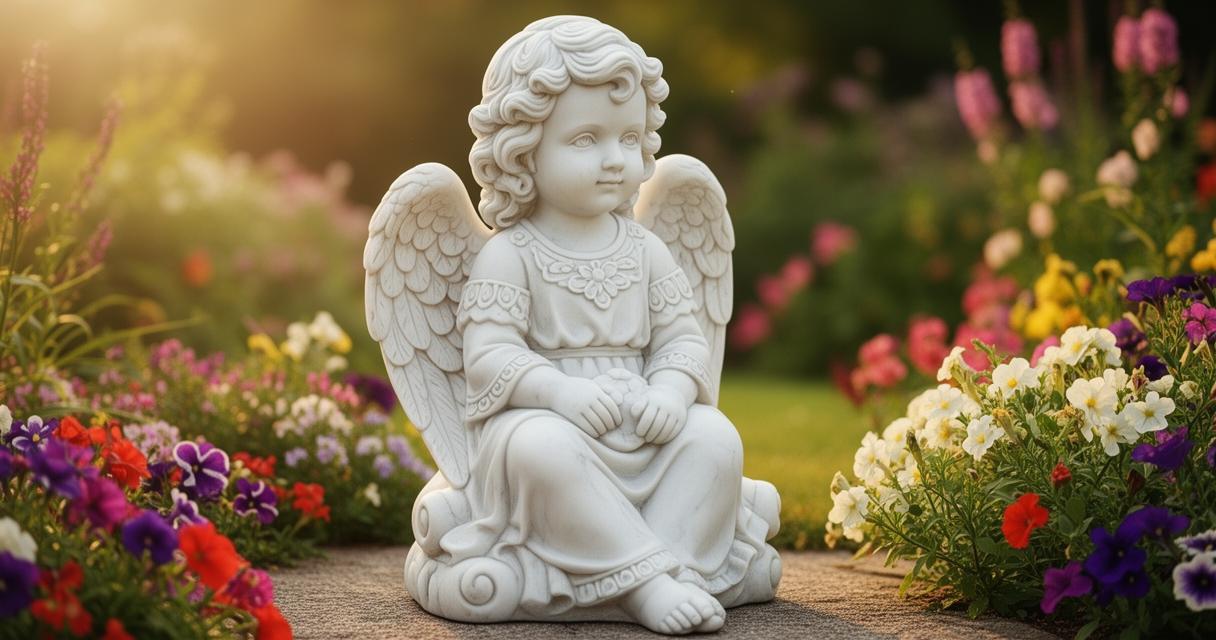
With your angel statue successfully cast and finished, the final step is to bring it to life with colour. Painting allows you to add personality and charm to your creation, transforming a simple white or translucent resin piece into a stunning focal point. Mastering a few key techniques will help you achieve a professional finish that showcases the intricate details of your work.
Choosing Colours and Brushes for Delicate Details
Selecting the right paint is essential for achieving a smooth, vibrant finish. Acrylic paints are a popular choice for resin statues due to their versatility, quick drying time, and wide range of colours. For a more durable and weather-resistant finish, especially if your statue will be displayed outdoors, consider using enamel or spray paints formulated for outdoor use. Before applying any colour, prime your statue with a suitable primer to ensure the paint adheres evenly and to enhance the vibrancy of your chosen hues.
When it comes to brushes, invest in a variety of sizes and shapes to suit different areas of your statue. Fine-tipped brushes are ideal for delicate details such as facial features, wings, and decorative accents, whilst broader brushes can be used for larger surfaces like robes or bases. Synthetic brushes often work well with acrylic paints, offering good control and a smooth application. Keep a cup of water and some paper towels close by to clean your brushes frequently, preventing colours from muddying and ensuring crisp, clean lines.
Start by applying a base coat to the entire statue, using thin, even layers rather than one heavy coat. Multiple light coats will prevent drips and allow the paint to dry more evenly, resulting in a smoother finish. Once the base is dry, gradually build up layers of colour, adding highlights and shadows to create depth and dimension. For a more realistic appearance, consider dry-brushing lighter shades over raised areas or using washes of diluted paint to settle into recesses and emphasise texture.
Applying Finishes and Protective Coatings for Longevity
After you have completed the painting, protecting your work with a suitable finish is crucial for preserving its beauty over time. A clear sealant or varnish will shield the paint from chipping, fading, and moisture damage, particularly if the statue is to be displayed in a garden or exposed to the elements. Sealants are available in various finishes, including matte, satin, and gloss, so choose one that complements the overall aesthetic of your angel.
Apply the sealant in thin, even coats, allowing each layer to dry thoroughly before adding the next. For outdoor statues, two to three coats are typically recommended to ensure adequate protection. Be sure to cover all painted surfaces, including hard-to-reach areas such as the underside of wings or the back of the figurine. Once the final coat has cured, your statue will be ready to display, offering lasting charm and resilience.
Creating your own cute angel statue is a fulfilling endeavour that combines creativity with craftsmanship. By carefully selecting your materials, following each step with care, and applying thoughtful painting techniques, you can produce a stunning piece that adds warmth and character to any space. Whether you keep it for yourself or present it as a heartfelt gift, your handmade angel will serve as a testament to your skill and dedication, embodying a sense of love and protection that resonates with all who see it.